Easter Egg Painter can be found here: https://www.bloobel.com/collections/new_digi_stamps/products/easter-egg-painter-digital-stamp. I added my own background. It is not part of the digi stamp.
Saturday, March 17, 2018
Easter Egg Painter
Labels:
Bloobel,
Easter,
Egg,
Painter,
Prismacolor pencils
Cutie KaToodles - Lucky Clover Bear
Created some cuteness for the
Kadoodle Bug Designs host a weekly
challenge on their fan page.
This week the challenge was
an Anything Goes St. Patty's Day challenge.
I used this week's free file of
I hope that you will join us each week for the
challenges. It is so fun to see what everyone makes.
Check out the link above for details.
Shoptastic Cuties - Lucky You Cuties
I hope you are all having a good lucky day.
I made some cute cut pieces that would be darling
in a pot of flowers and or clovers.
I used the file Shoptastic Cuties - Lucky You Cuties.
All you would need to do is stick them on a stick and then
into your pot of flowers.
May the luck of the Irish be with you!!!
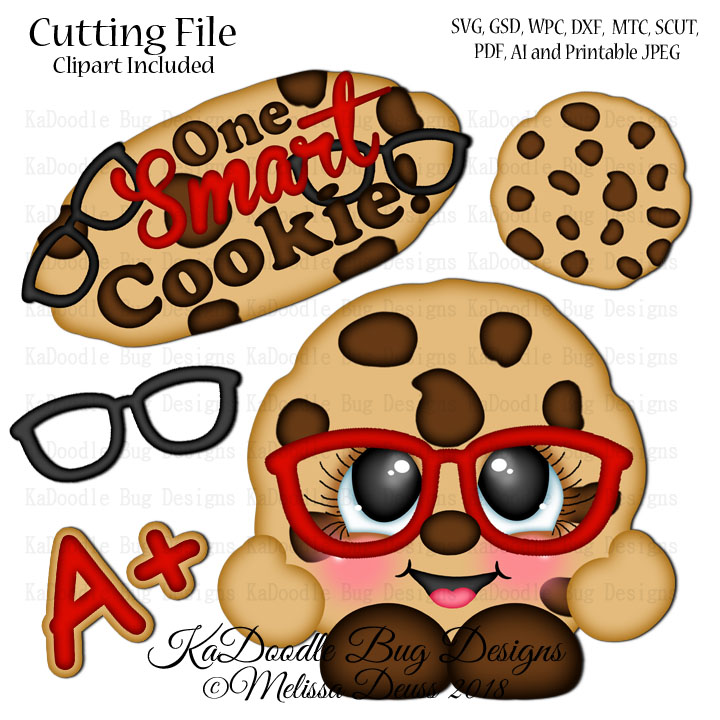
Shoptastic Cuties - One Smart Cookie
Do you know any "Smart Cookies"
Remember their accomplishments with this cute layout using
There are so many different things that you can do with this file.

I used just the cookie in this layout.
I cut the glasses 6 times and glued them
together to make them thick.
Then I gut one more out of Glitter cardstock to make
the sparkle.
I also used 3D foam squares to give it some
dimension. The edges are inked as well.
I pledge myself to uphold
The high purposes of the National Honor Society
to which I have been selected;
I will be true to the principles for which it stands;
I will be loyal to my school.
And will maintain and encourage
High standards of scholarship, service, leadership
and character.
Saturday, March 10, 2018
Thursday, March 8, 2018
Chunky Grad Kids mini album
As promised, here is my mini album for
graduation.
I used the file
Chunky Grad Kids and rectangles from my design program (Cricut Design Space).
This project takes a good amount of playing with the files
but is easy once you know how to do it. I will
do my best to explain how to do this.
Once you know how you can use this technique to
create many other mini albums if you would like to.
- Load the KBD file into your design space.
- When you load the print then cut, make sure you make it so it does print the cut. This is an important step in this file. Some of KBD files do not have a base file so you have to use the print then cut to make one.
- You will need to duplicate the colored print then cut image and make it so it just cuts and not print then cut (unless you want to use the print then cut).
- Duplicate the base pieces. You will then need to regroup the file so that you can size everything to the right size to fit onto the shaped album pages.
- Size the file so that the base piece is about 6 inches. You will need to use the grids in your design space and enlarge the file until the base is 6 inches. Everything must get bigger proportionately or they will not layer. This is why everything must be regrouped to enlarge them. You can use whatever size you want. I chose 6 inches.
- To do the numbers with this file, You will need to ungroup the file with the numbers 2 times to separate the number
s.
- You will then need to use an inserted shape to slice them from the file so that you have individual numbers and not need to cut them all.
- Size the numbers the way that you sized the base pieces.
9. Once everything is enlarged, bring in some squares that you will make into different sized rectangles for the pages of the album.
10. Make the size of the rectangles that I used to the size you want so that the pieced image you will add is showing as much as you want it to. I like them so they all show most of the image. However, I do not have any of the large 12x24 inch paper. When you make them that big, you will need larger paper than 12x12 inches.
11. Align the base shapes to the bottoms of the rectangles.
12. The base shape should overlap the rectangle when you weld it. 13. Weld the base shape and the rectangle together.
14. Embellish and assemble the pieced shapes (the kids and numbers).
15. Glue on top of the page where the shape was welded on.
16. Decorate the album the way you want it.
17. Add pictures.
18. Give to the recipient and watch their excitement.
Accordion spine
I put an accordion spine hinge in my mini album. There are many ways of doing it. You can look on YouTube for videos on how to make it. It really isn't hard.
Sunday, March 4, 2018
Easter Mini Album
I don't very often create mini albums but I couldn't resist
making a cute mini album using Easter files from
Kadoodle Bug Designs.
The files that I used are
Cutie KaToodles - Beachy Cricket (modified to be a
Cricket with bunny ears),
This project takes a good amount of playing with the files
but is easy once you know how to do it. I will
do my best to explain how to do this.
Once you know how you can use this technique to
create many other mini albums if you would like to.
(I will be sharing a graduation mini album this next week.)
- load the KBD file into your design space.
- Duplicate the grey base pieces.
- You will then need to regroup the file so that you can size everything to the right size to fit onto the shaped album pages.
- Size the file so that the base piece is about 6.5 inches. You will need to use the grids in your design space and enlarge the file until the base is 6.5 inches. Everything must get bigger proportionately or they will not layer. This is why everything must be regrouped to enlarge them.
- Once everything is enlarged, bring in some squares that you will make into different sized rectangles for the pages of the album.
- The size of the rectangles that I used was 4x5,5.5x5,7.5x5, and 8x5.
- Align the base shape on the bottom.
- The base shape should overlap the rectangle.
- Weld the base shape and the rectangle together.
11. Glue on top of the page where the shape was welded on.
12. Decorate the album the way you want it.
13. Add pictures.
14. Give to the recipient and watch their excitement.
Thanks for taking the time to check out this post and learn a
new technique for making mini albums.
Subscribe to:
Posts (Atom)